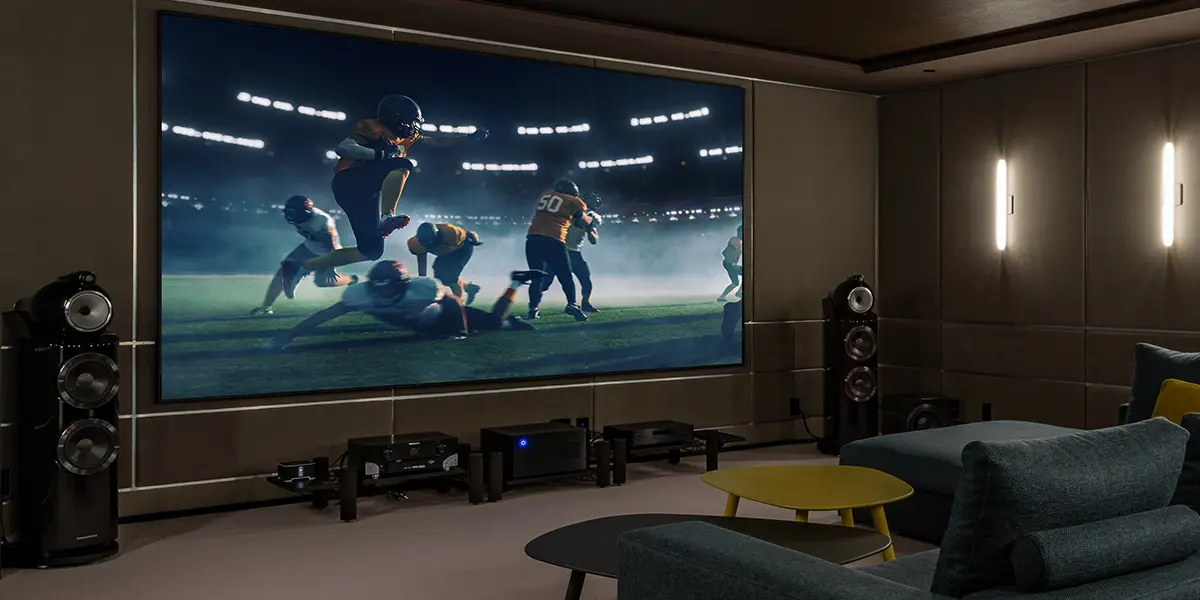
What would you consider the essential piece in your home theater? You may be surprised to find it’s not the screen or speakers; it’s your AV receiver, the link between all the elements in your setup. However, the expansive array of sockets and acronyms on the back of the receiver can be mindboggling to many first-time buyers. Lucky for you, our team at Audio Video Concepts has created a helpful guide that will help you know how to find, install, and calibrate an AV receiver best for your budget and lifestyle.
Invest in Your AV Receiver
There are three questions you should ask yourself before you invest in an AV receiver. How many speakers do I have? How many HDMI inputs do I need? What’s my budget? Their answers will guide your process. First of all, if you want a surround-sound system for your home theater, will you opt for the simple 5.1 channel setup, or would you like to have fully maximized audio with 11 channels of sound? In a setup with minimal space, five speakers and a subwoofer (a 5.1 channel) are your best bet. However, if you think you’d like to add more speakers in the future, then it would be worth investing in a receiver that can handle 9 or 11 channels. Next, make sure your AV receiver will have the appropriate HDMI inputs for the sources you want to connect, whether it’s a video game console, turntable, or Blu-ray player. Lastly, your budget is a helpful indicator of a great AV receiver: one that’s around or lower than $450 will provide you with basic 5.1 surround sound and a few HDMI inputs. If you’d like more modern features like Wi-Fi, Dolby Atmos, DTS:X, 4k HDR passthrough, extra HDMI inputs, and music streaming, your amp will cost roughly $800. Anything above $1000 will grant you everything above with more detailed power. Haven’t settled on a budget yet? Cut your estimated total speaker budget in half; the result should be the upper range of the cost of your AV receiver.
Set Up the System
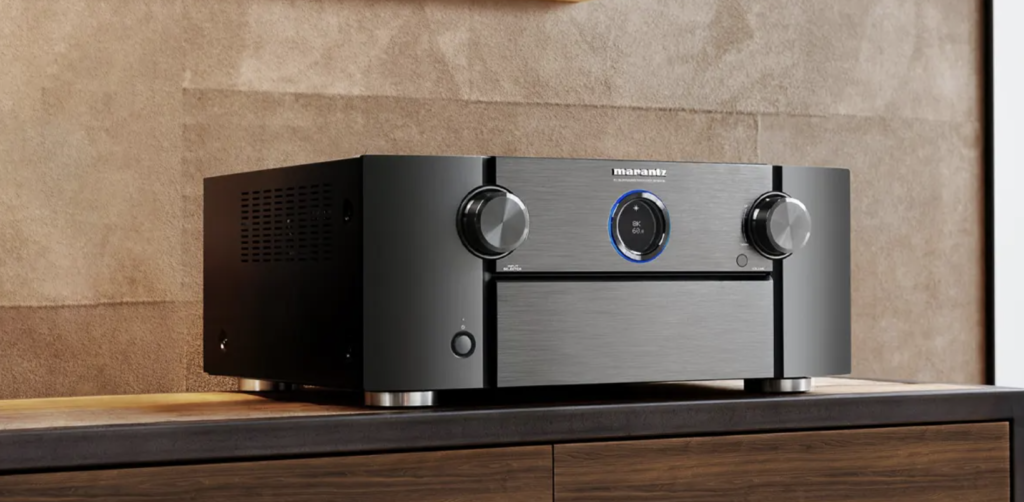
Now’s the time to deal with the number of inputs. If you set the connections up properly, you’ll never have to deal with them again. Before plugging in anything, power off your amp to prevent short-circuits to the system. The majority of receivers are clearly labeled or color-coded with their corresponding connection, as the manufacturer optimizes the individual inputs for the best performance. The labels are straightforward: Blu-ray, DVD, CD, Game, and CBL/SAT, although your Blu-ray player connects to the input labeled “HDCP2.2.” We recommend using a wired ethernet connection for your amp instead of a Wi-Fi connection for reliability. One extra secret: the USB port in the front of some receivers can play media files from a USB drive or charge your smartphone!
Run the Calibration
Calibrating your receiver doesn’t have to be a lengthy process. Most amps come with a microphone for auto-calibration that measures the speakers and room while setting speakers’ optimal distances and levels. Once you have plugged in the mic, you’ll see instructions on your TV screen that take you step-by-step through the process. Within minutes, your audio setup will be calibrated. However, if your audio doesn’t sound quite right, it may be in your best interest to check the speaker settings manually and tweak the levels and distances yourself. If you ever rearrange your speakers or furniture, you have to recalibrate the system all over again, so hold onto the setup mic. One last setup suggestion from us: switch off the dynamic range compression (DRC) in your settings so you don’t startle your neighbors with the cinematic explosions from your Marvel movie marathon.

Experiment with Different Settings
It’s almost time to pop your popcorn, but first, you should explore some of your audio and visual settings that enhance your cinematic experience, such as surround sound modes and digital sound processing (DSP). Experiment between Dolby or DTS modes that can boost sound details with settings like Sci-Fi, Drama, Adventure, and Game. Test out audio effects that simulate the acoustics of cathedrals, concert halls, and even jazz clubs. However, we tend to go with the sentiment that “less is more” in this case, simple filters like Straight, Direct, or Pure Direct will produce a sound that stays consistently clean from source to output. If you want to use the specialized effects, create presets that allow you to use specific filters for music, movies, video games, or sporting events.
Press Play
Now you can finally kick your feet up and enjoy your entertainment system! We recommend you warm up your AV receiver by “running it in” (playing continuously) for 24-48 hours to develop the audio quality before you do any serious movie watching. Your amp will sound better over time with extended usage, so get ready to binge your favorite TV series with plenty of popcorn on a fine-tuned home theater system. Are you ready to find the best AV receiver for your home? Contact our team at Audio Video Concepts today to begin!